Behemoth
The work
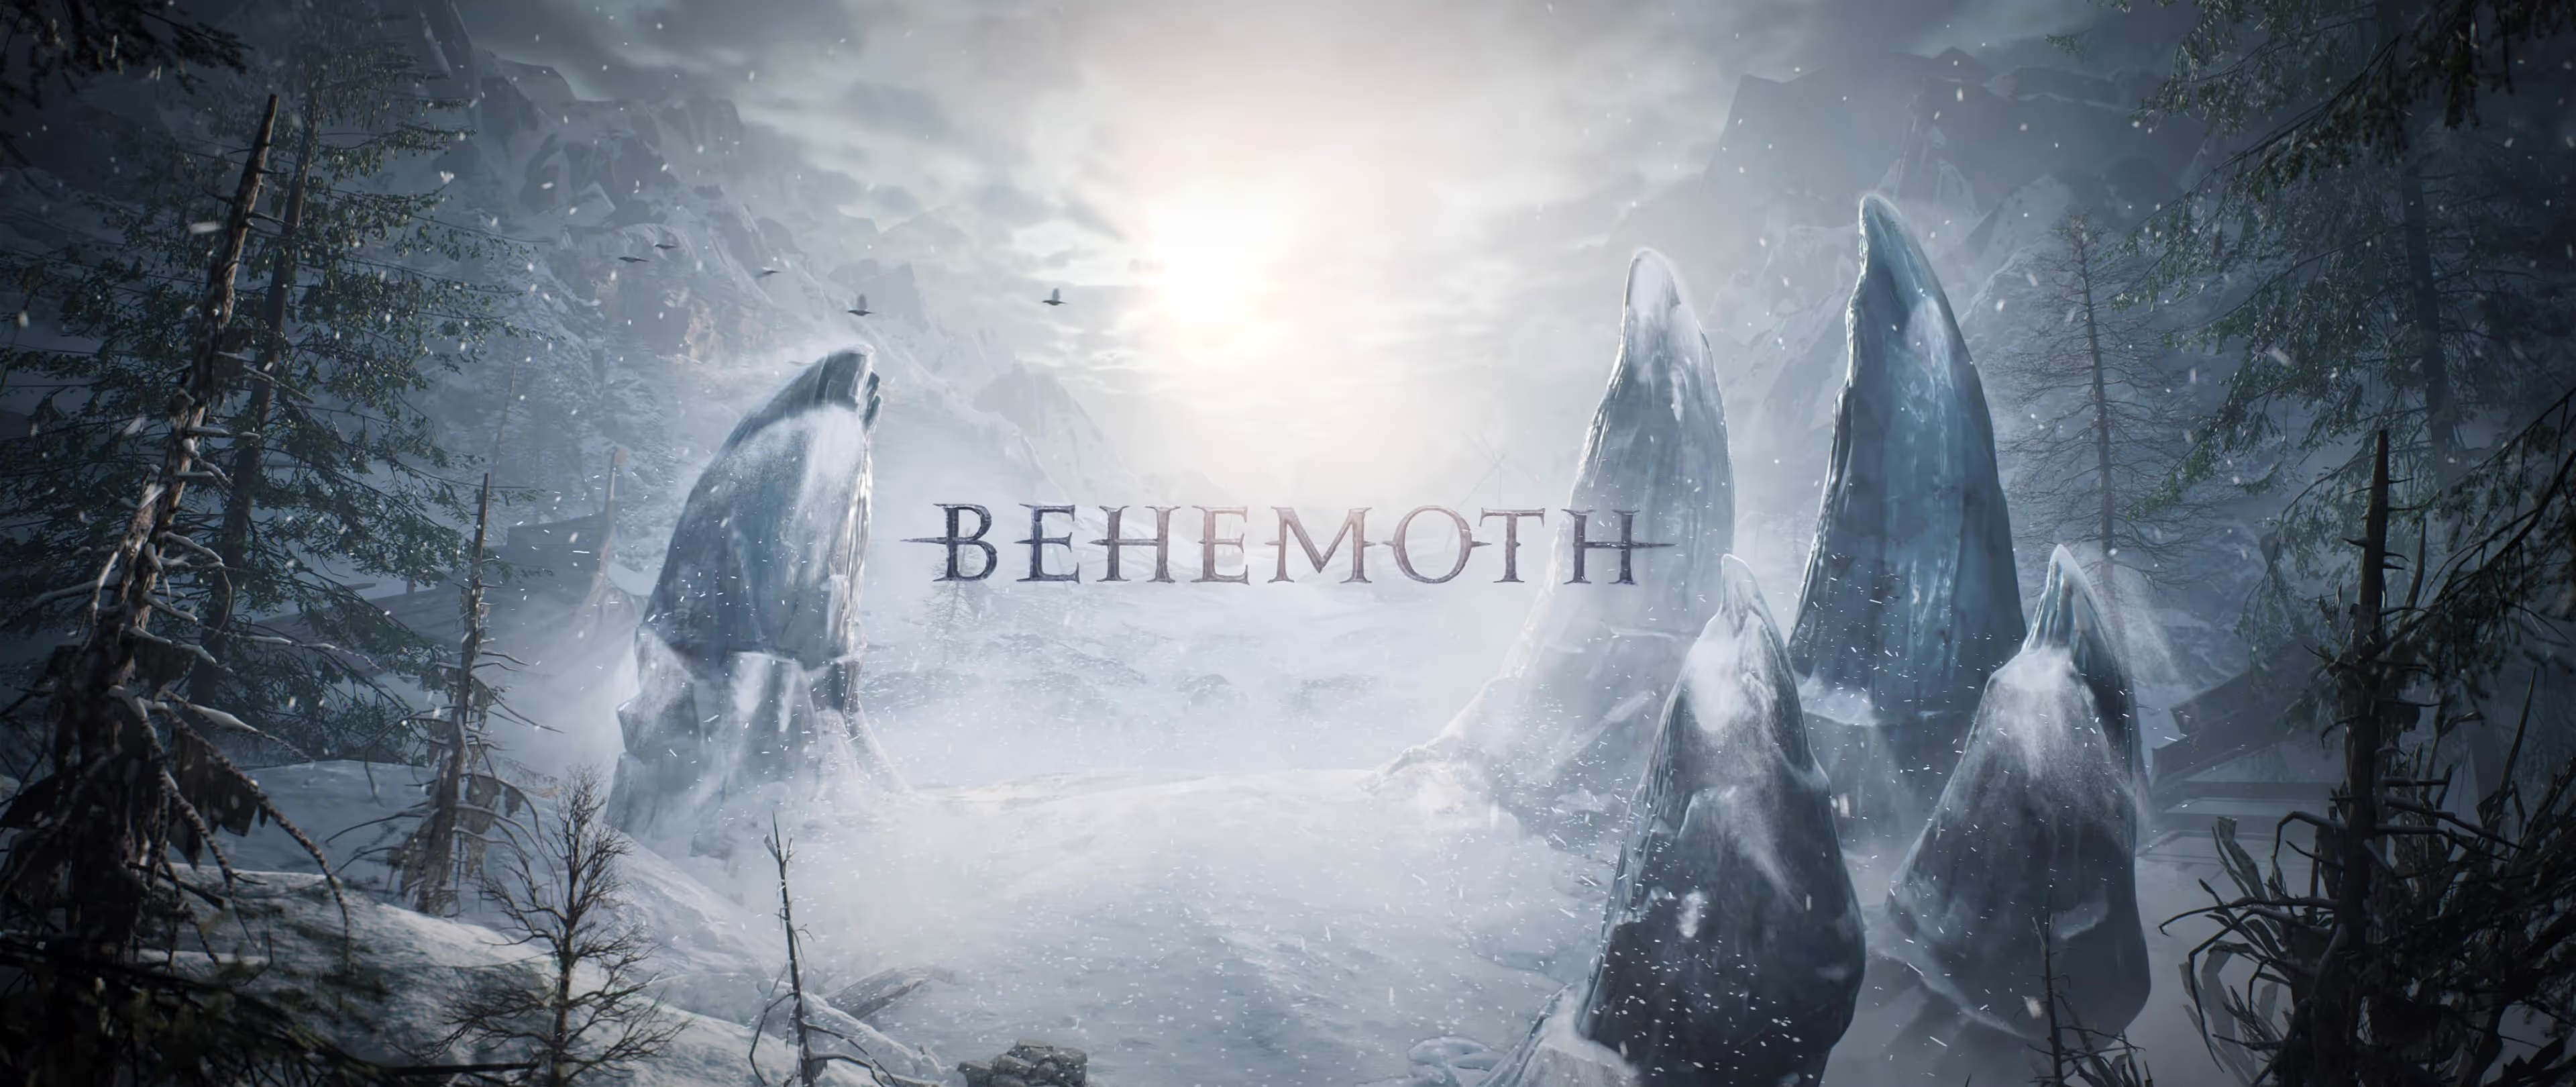
Nine shots · Six weeksA cinematic reveal built around controlled tension and scale. I guided the pacing, atmosphere, and final reveal — a single camera glide pushes through dense fog toward the Behemoth.
Houdini carried the environment simulations, Unreal carried the lighting, and the logo transformation from metal to ice closed the sequence with quiet intensity.
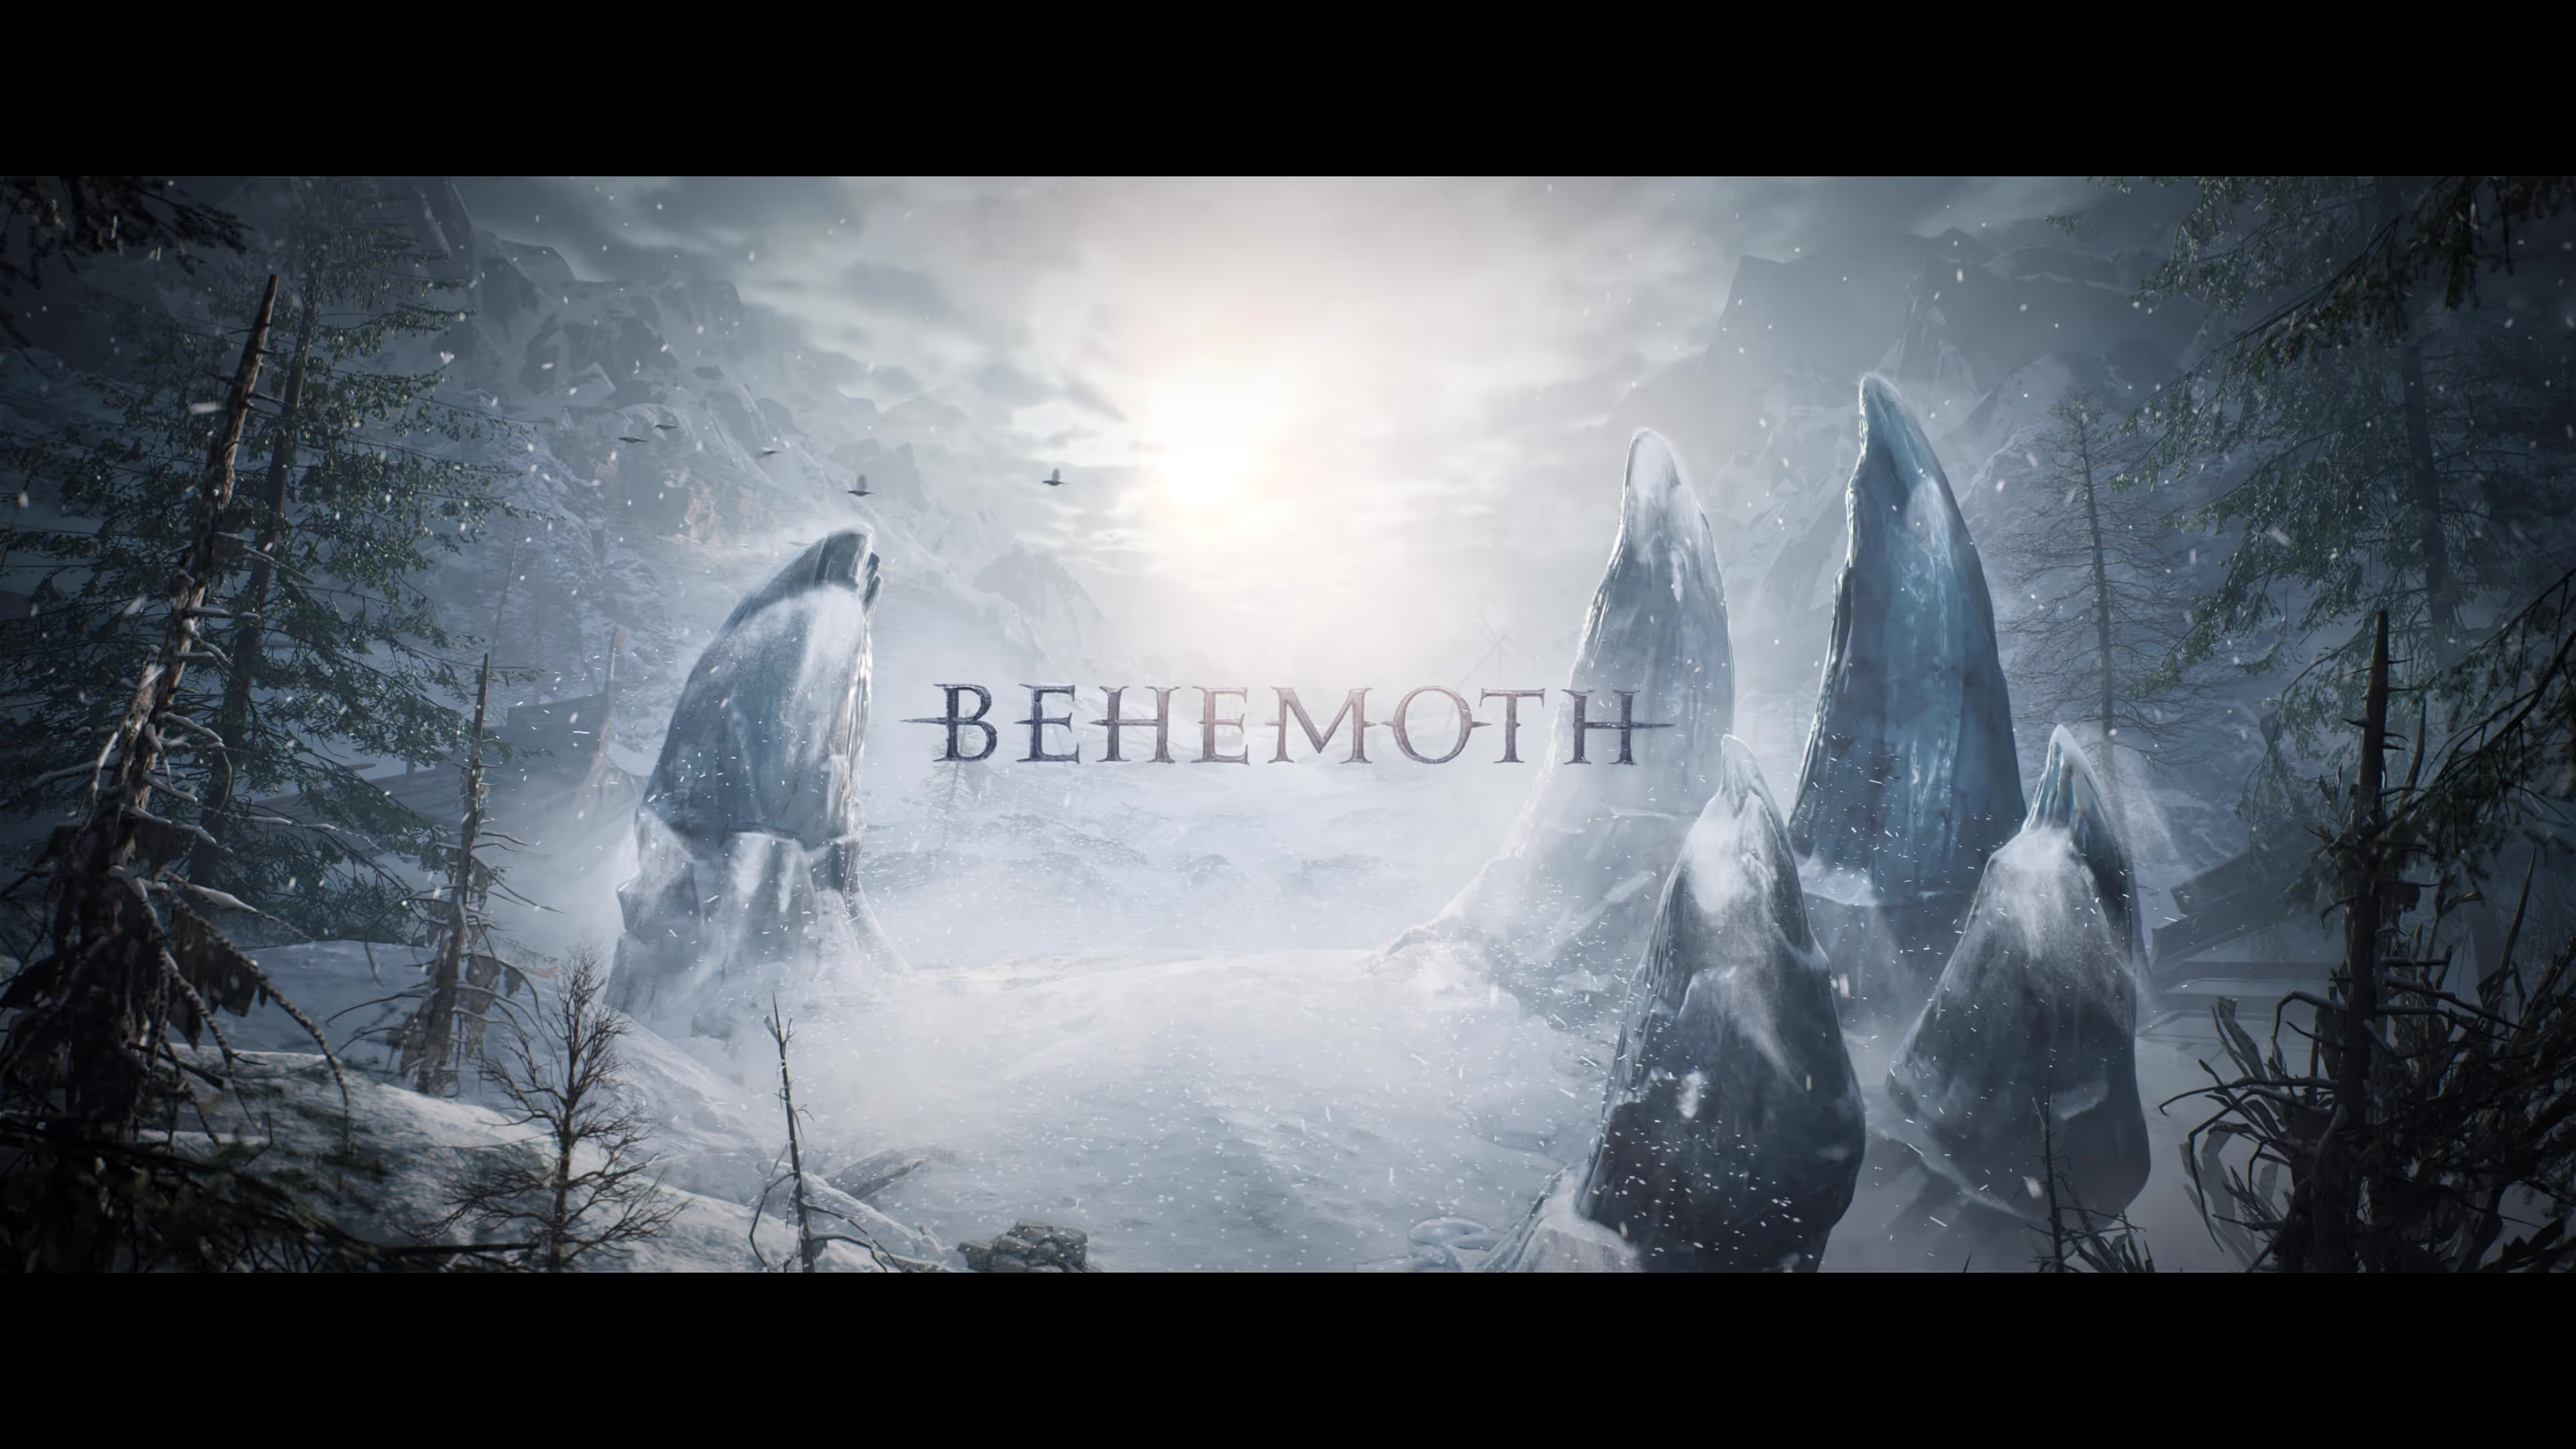
Breakdown
The piece opens with a slow, linear camera path — a deliberate build through dense layers of fog. The client wanted mystery, tension, and patience. Step by step, the world unveils itself, until the fog finally parts to reveal the towering Behemoth in full scale.
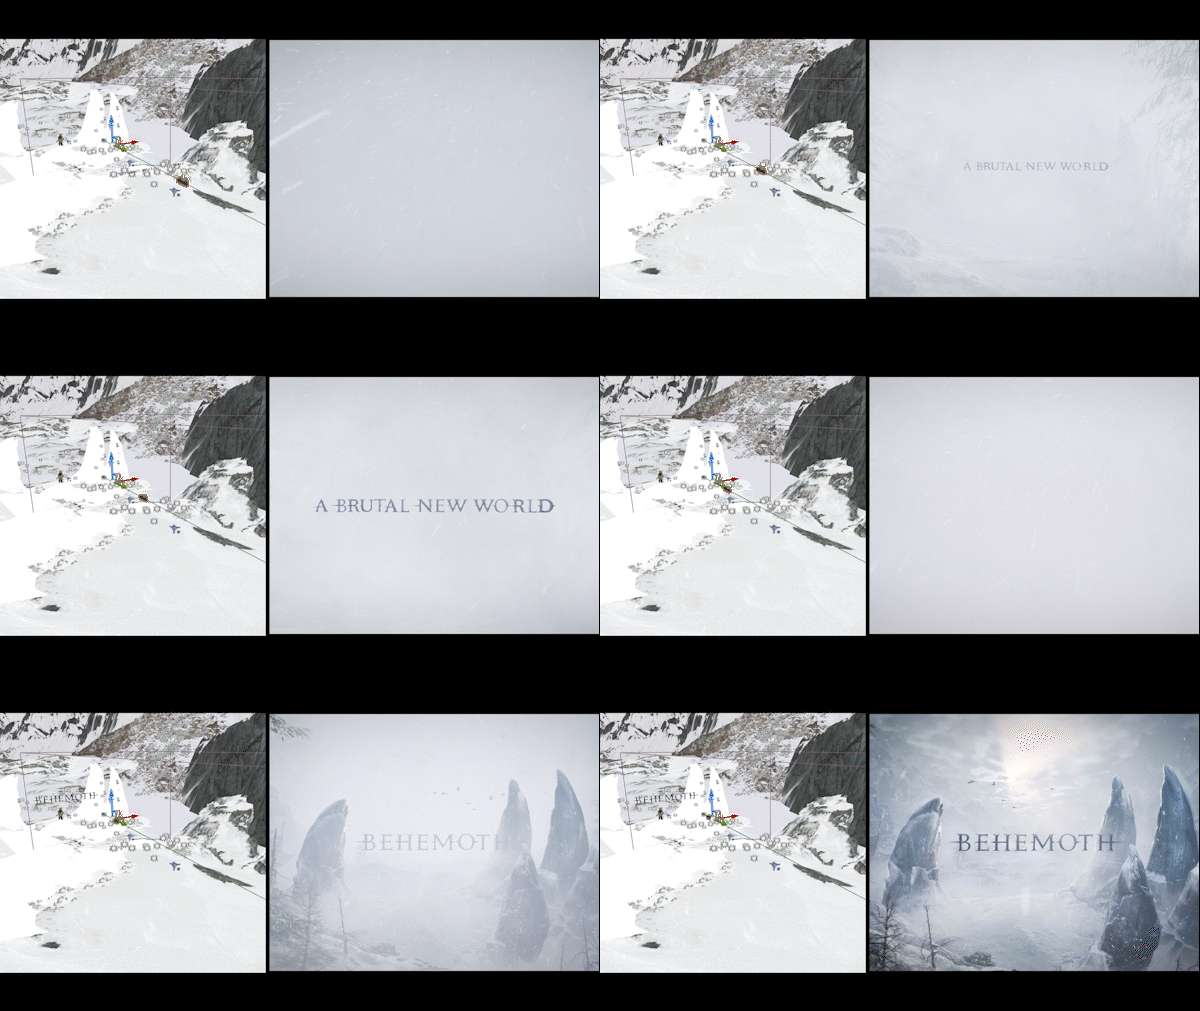
Crafting the Environment
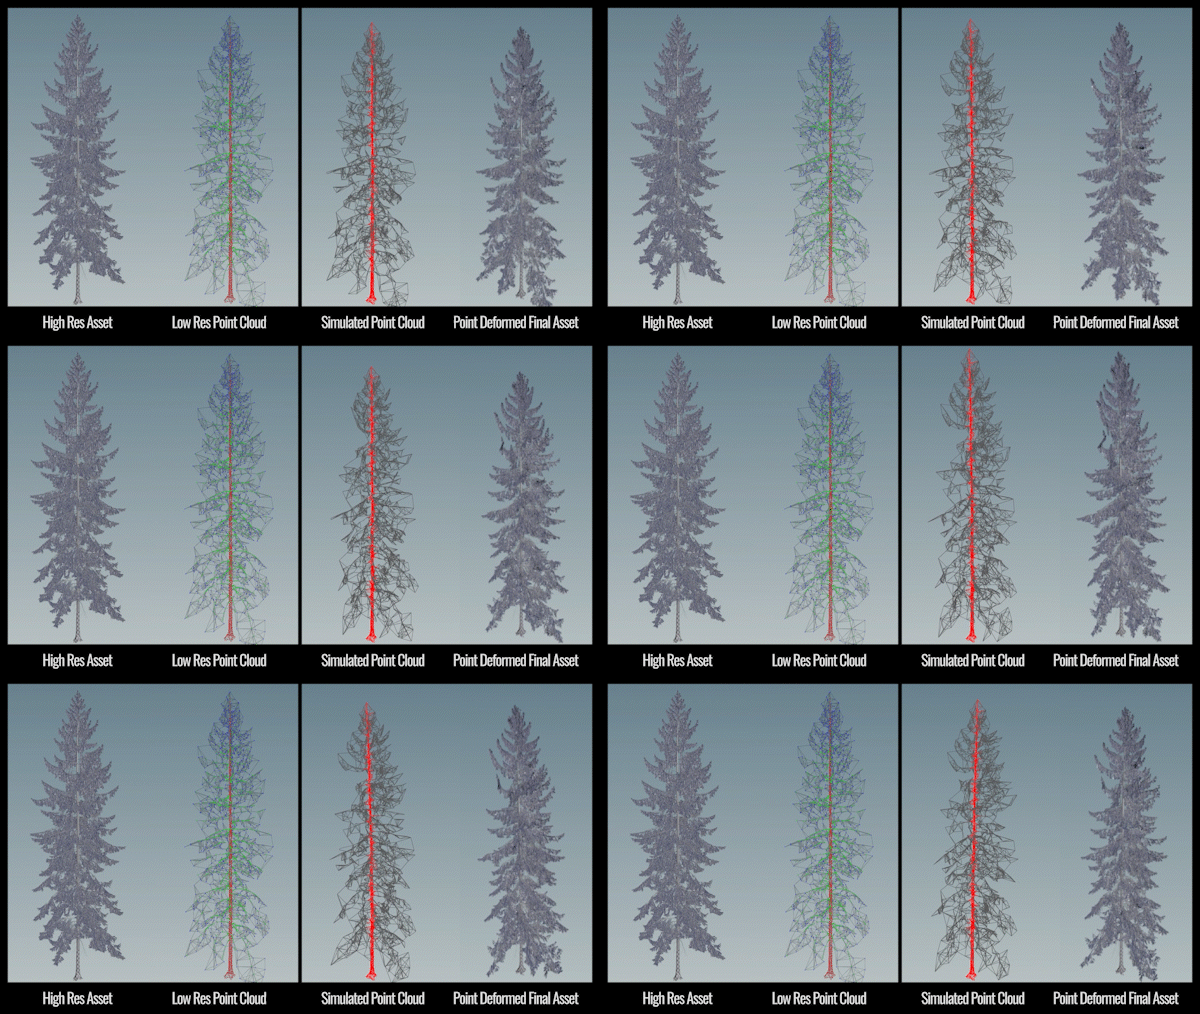
Every element in the scene was designed to feel alive. The tree assets were simulated in Houdini using custom deformers, then exported as Alembic caches and brought into Unreal Engine to react naturally within the environment.
To make the process more efficient when dealing with high-resolution geometry, I converted the detailed tree meshes into low-resolution point representations. Using the Connect Adjacent Pieces SOP, I created a lightweight proxy setup that preserved motion relationships between branches. This allowed me to run a Vellum simulation on the simplified version — drastically reducing cost while still maintaining realistic secondary motion once transferred back to the high-res assets via Point Deform SOP.
The Frosted Logo
The final logo was designed as more than text — it needed to transform.
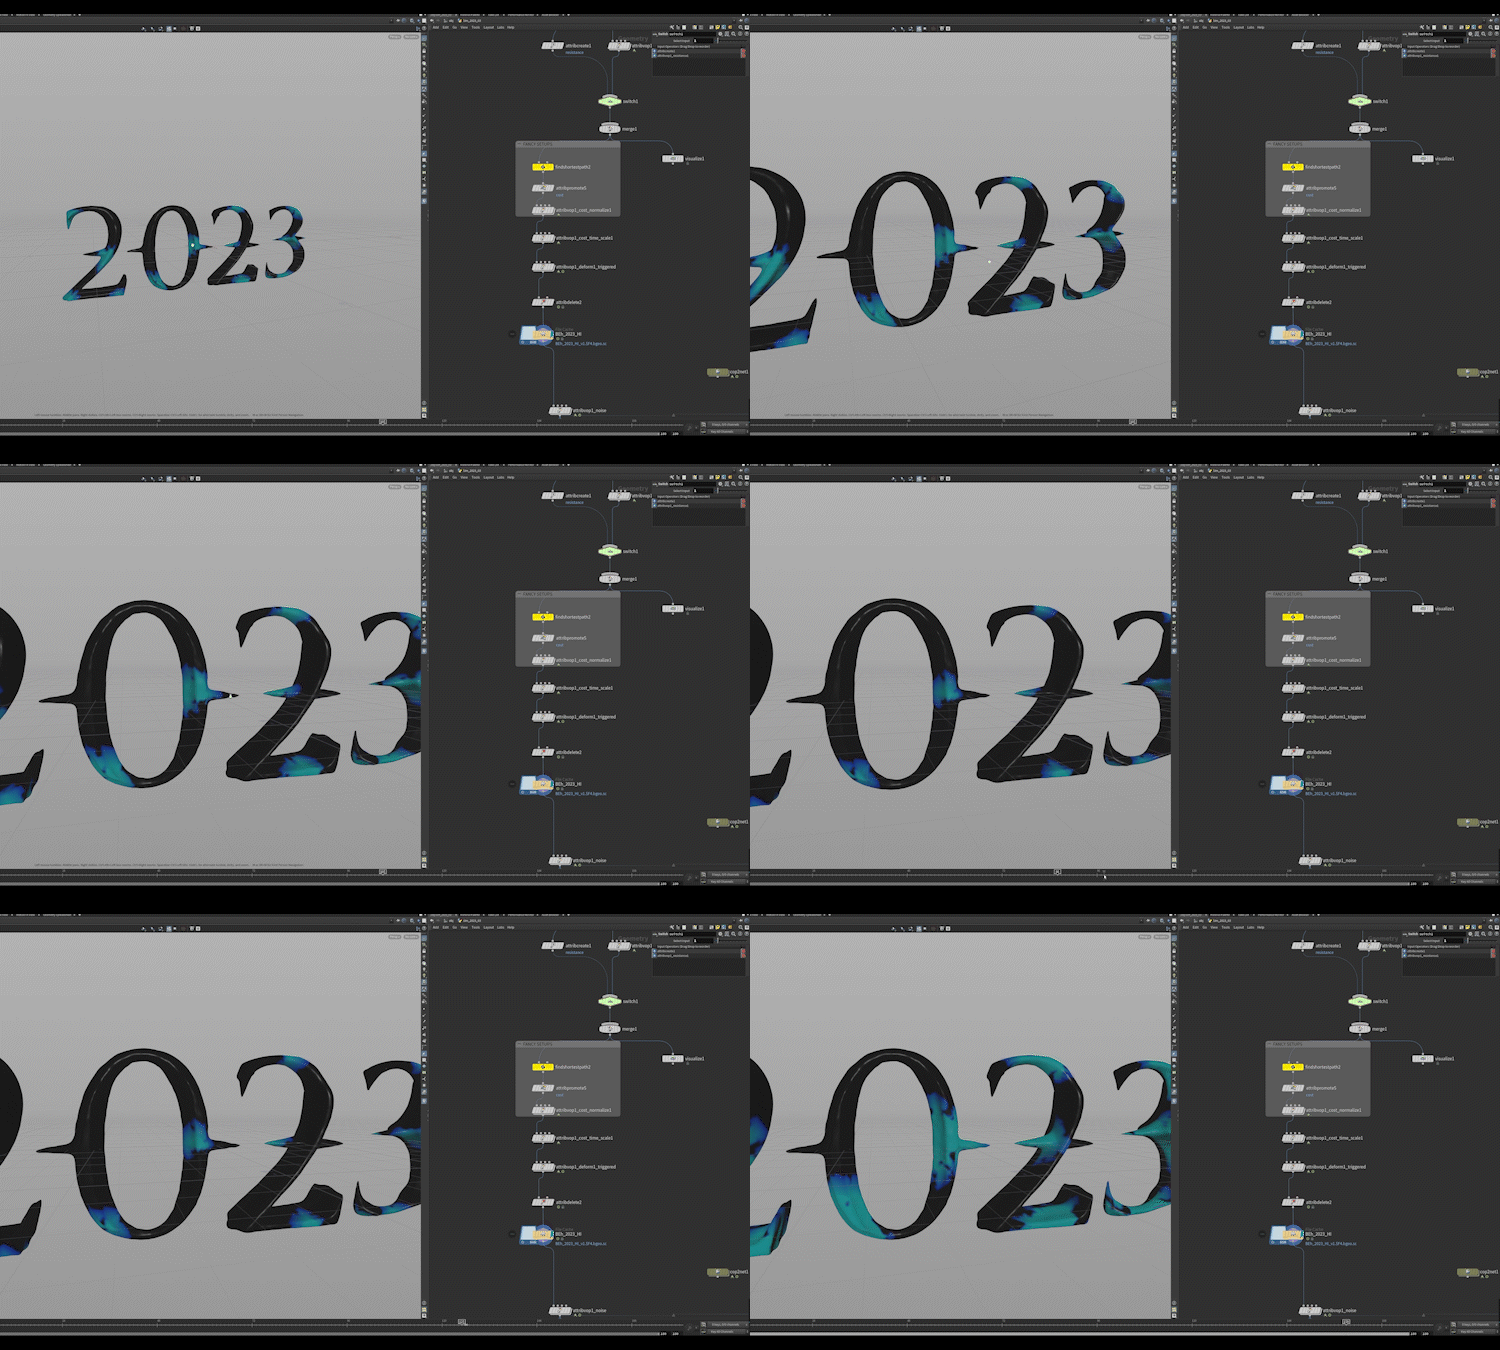
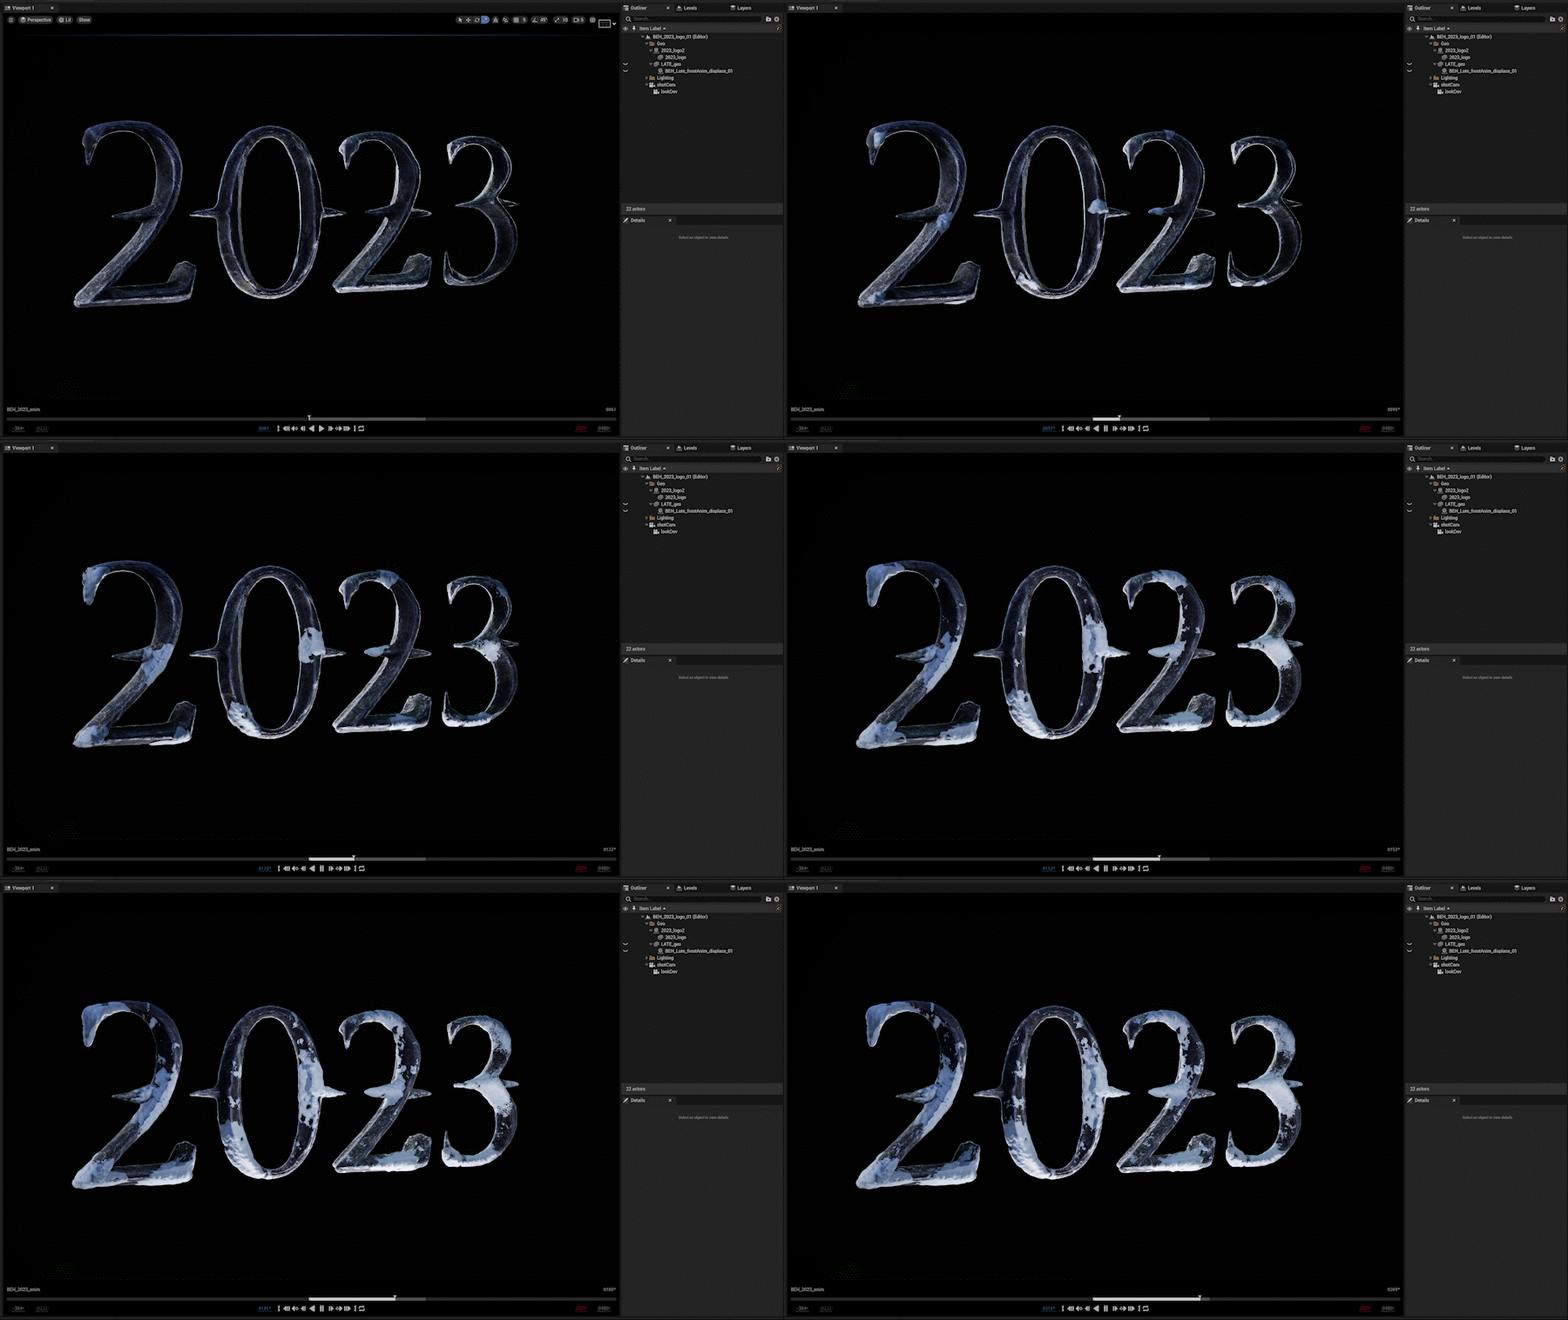
The process began in Houdini, where I built a custom growth simulation. Starting from a deep black base, the frost slowly propagated outward from seeded points, shifting into white as it spread. By layering noise and exposing parameters, I gave the texture a more organic, fractured quality — less uniform, more alive.
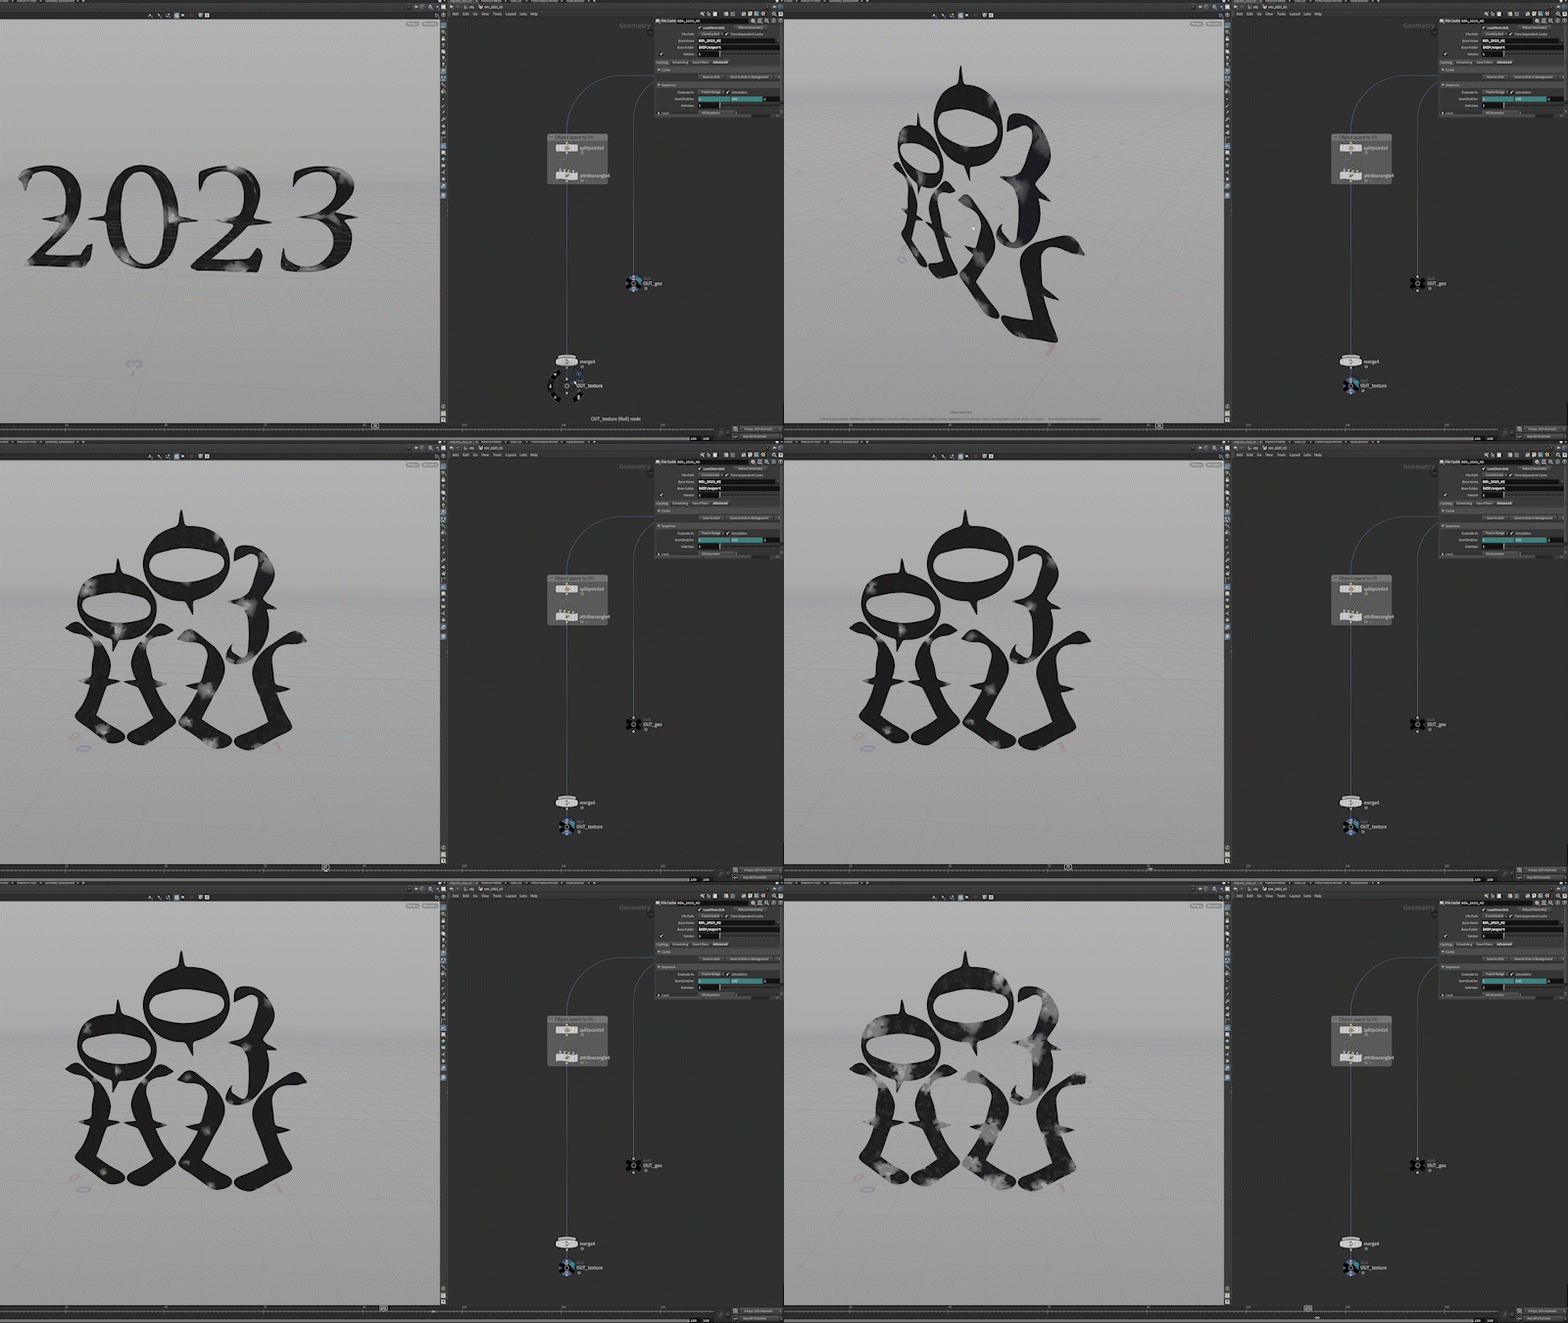
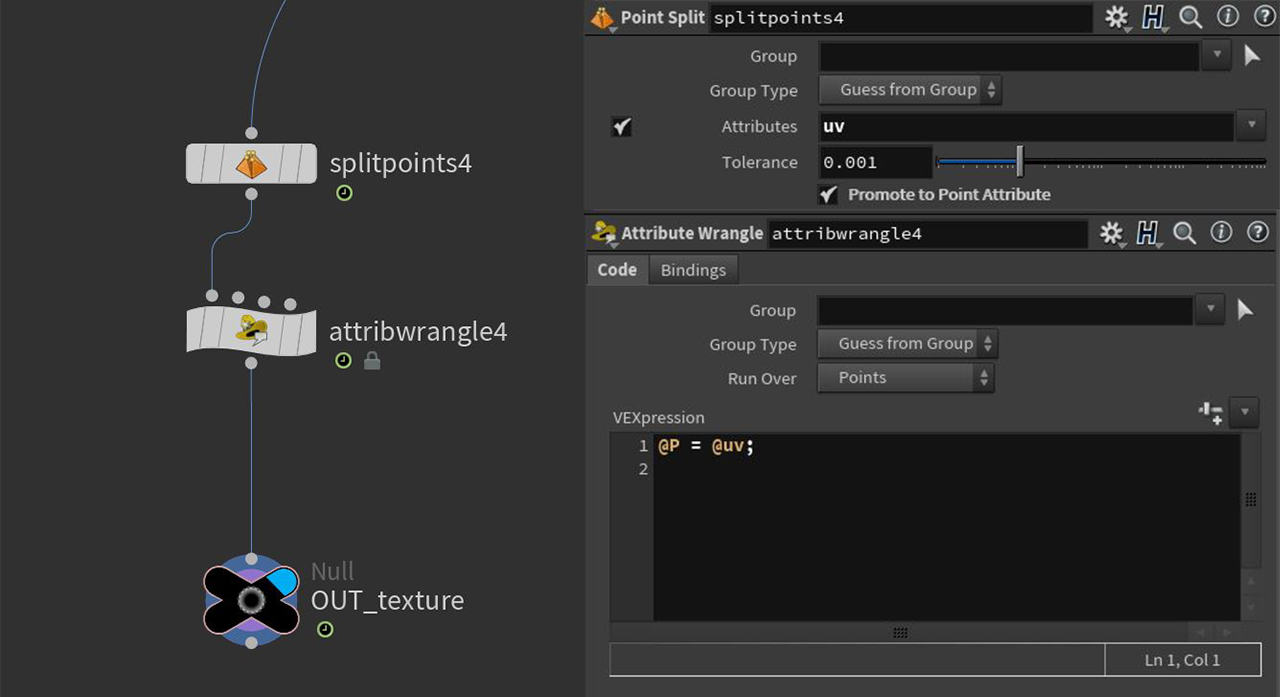
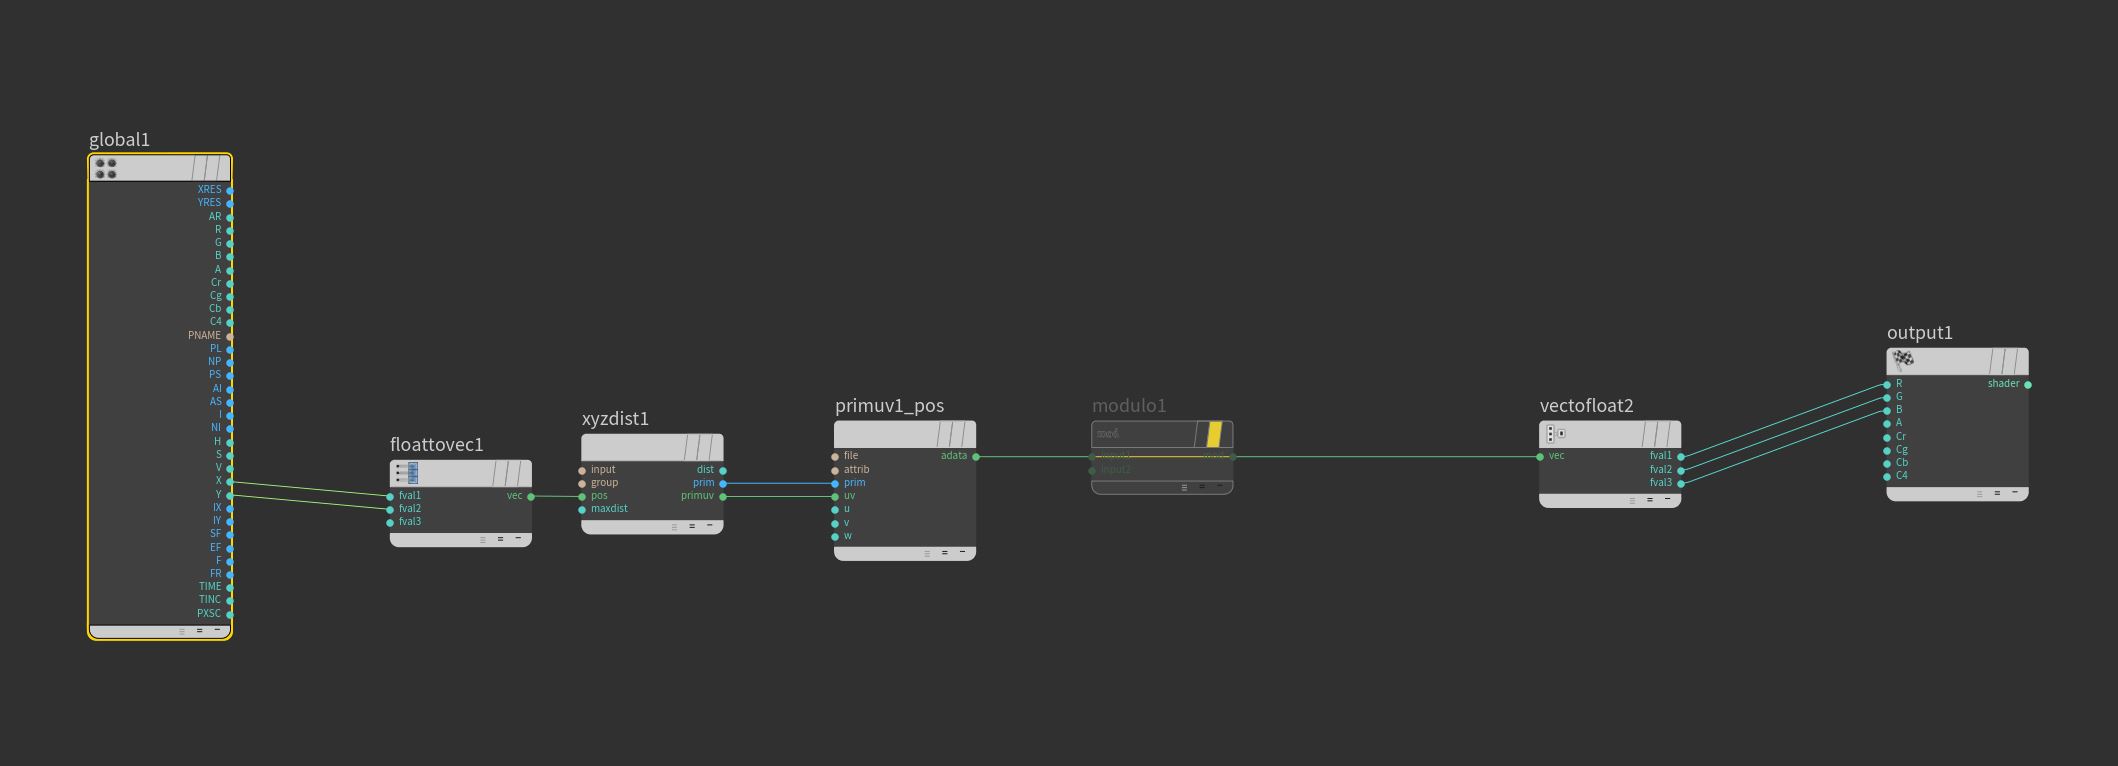
The critical step was converting this animated simulation into usable textures. Through experimentation, I developed a workflow using split points in combination with a custom Attribute Wrangle, manually transforming the geometry into UV coordinates in world space. This ensured the growth effect could be captured frame by frame in a texture sequence.
Inside the VOP COP, the magic happens. Using Houdini’s standard xyzdist function, each pixel is projected into primitive space — essentially measuring the distance from texture coordinates back to the surface. This gave me a way to “sample” the live simulation directly into texture form. That distance data, distorted and fractured by the growth sim, became the animated frost mask. Instead of a flat overlay, the textures carried all the irregular chaos of the original Houdini simulation.

Inside Unreal, the reveal came together in two layers:
- The base layer: a standard metallic shader for weight and reflectivity.
- The frost layer: slightly offset with vertex displacement, sitting just above the metal. The Houdini-baked texture was then used as an opacity mask, controlling the icy growth frame by frame.
The result was a text treatment that felt physical — a slow crystallization across metal, as though the environment itself was frosting over the identity.
Bringing It All Together
Unreal Engine became the stage where all these elements converged. From lighting polish to final renders, the engine allowed every layer — camera, fog, trees, frost — to merge into one cinematic whole.
The result: a mysterious build-up that culminates in a powerful, larger-than-life reveal.